It was my darlings birthday yesterday and being big into knitting she wanted a blocking board.
Its no shame not to know what that is:
When you knit something it tends to be quite crumpled and deformed when you're done, as all the little knots are slightly different. This effect is even more pronounced with delicate stuff like lace. What you need to do is wash the completed knitted piece and pin it into the form it should end up with until its dry.
She did this on our living room rug before which led to daylong tiptoeing around damp clothes and wet feet. No fun.
But this is a problem already solved. A blocking board is something you can pin into, that's water resistent and stable enough to lean against a wall so its out of the way. Having a checkered pattern helps the blockee (blockesse?) as she is pinning the piece against the board. Lastly it must be big enough to hold even elaborate projects and should fold for easy storage.

To the right you see all the materials used:
- 4x 60 by 60cm 'puzzle mats' made out of foam
- 2x 120 by 60cm strong plywood
- a big roll of cerecloth ('Wachstuch' in german)
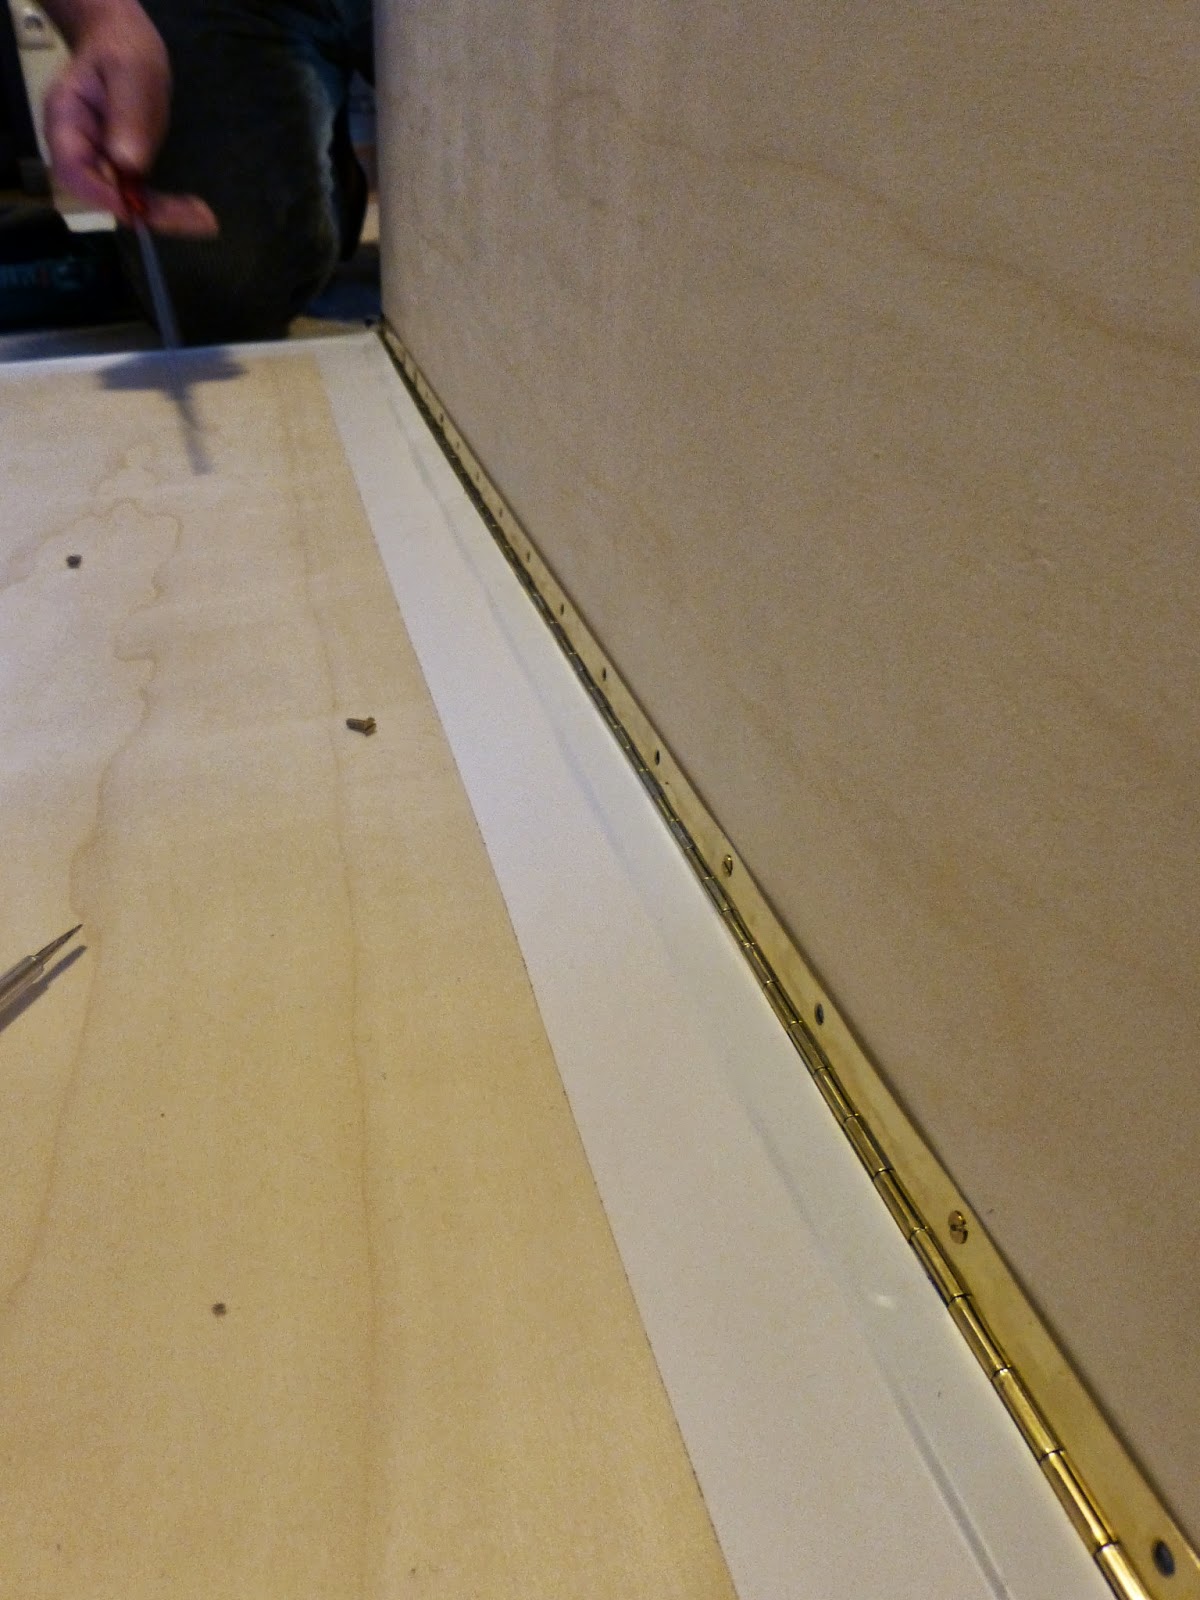
- 120cm of piano hinge
- screws
- staples and plastic tape
I build it in my parents flat to keep it secret (my dad was a great help, thanks again! =) )
The steps were as follows:
- cut the cloth in the correct shape
- drill holes into the boards and attach the hinge to test if everything fits
- Trim the foam a bit to match the boards
- remove hinge again
- attach the cloth at the side of the hinge by stapling it to the board
- screw the hinge on the board
- with foam on the board, starting with the opposite site, staple the cloth down completely
- try to keep the pattern aligned all times and watch out not to create folds
- cut the overhanging material and glue the masking tape over the staples
- Staple a new piece of cloth to the hinge-side of the second board, watch for alignment!
- attach the hinge to the second board (the boards are now connected)
- again, staple everything down and mask with tape
- you're done! =D

And: It works great! (
You'll find her knit project here)
The alignment between the boards was difficult and its not quite perfect, but usable.
If you like,
more pics.